

A smooth wall sets the tone for every paint job. Yet many homeowners and contractors see cracks, flakes, and patchy finishes within months of applying putty. These flaws waste money, delay projects, and ruin the look of a freshly painted room. Most problems trace back to poor surface preparation, wrong mixing ratios, or low-quality material. Viaduct Chemtech develops construction chemicals that address these root causes, and this blog explains the most common wall putty issues, why they occur, and how to fix them.
Key Takeaways
- Poor wall surface preparation causes most putty failures.
- Moisture, incorrect mixing, and thick single coats trigger cracking and peeling.
- Applying putty in thin, even layers gives a stronger and smoother finish.
- Proper curing time prevents shrinkage and weak adhesion.
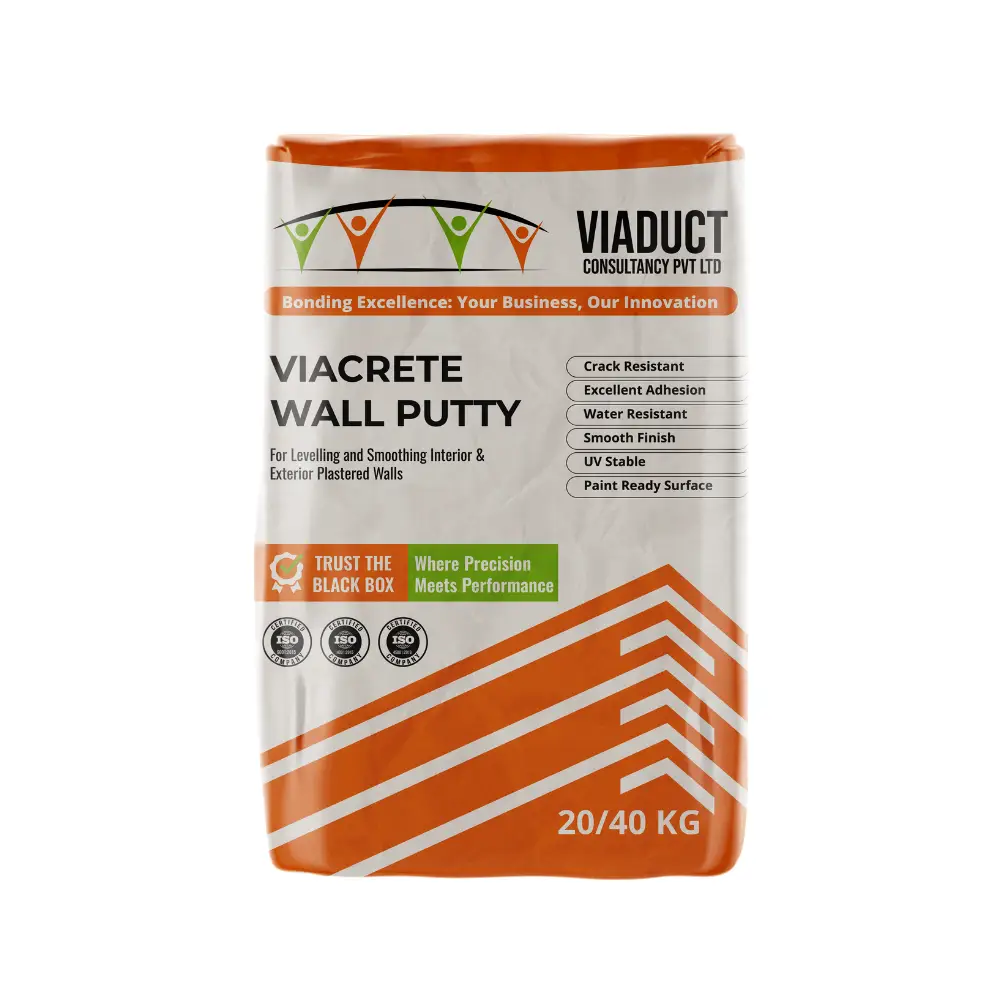
- Viaduct Blackbox for Wall Putty offers strong bonding and a durable base for paint.
Why Wall Putty Fails in the First Place
Wall putty fills surface gaps and creates a level base for paint. When the putty bonds poorly or shrinks unevenly, defects appear quickly. Understanding the common wall putty issues helps you prevent them before they cost you a repaint, and choosing a reliable product like Viaduct Blackbox for Wall Putty gives your walls a stronger start.
The main culprits include dusty walls, damp substrates, over-diluted mixes, rushed drying, and inferior products. Each one weakens the bond between putty and wall, and each one has a clear solution.
Wall Putty Cracking: What Causes It
Why does wall putty crack? Several factors work together to split the surface:
- Thick application. A heavy single coat shrinks as it dries and pulls apart, leaving hairline or deep cracks.
- Excess water in the mix. Too much water weakens the binder and increases shrinkage.
- Fast drying. Direct sunlight, strong fans, or hot weather pull moisture out too quickly.
- Structural movement. Fine cracks in the plaster underneath travel straight through the putty layer.
To prevent wall putty cracking, apply two thin coats instead of one thick coat. Mix the powder exactly as the manufacturer instructs, and let the first coat dry fully before you apply the second. Fill visible plaster cracks with a suitable crack filler before you start.
Wall Putty Peeling: Why the Layer Lifts Off
Wall putty peeling signals a bond failure between the putty and the wall. Three issues cause it most often:
- Dust and loose particles. Putty grips dust instead of the wall, so the layer flakes away.
- Damp walls. Trapped moisture pushes the putty off as it tries to escape.
- Old, flaking paint. New putty cannot hold onto a crumbling base.
Scrape away old paint, remove loose plaster, and dry the wall completely. Then apply putty on a clean, sound surface. Fixing the moisture source, such as a leaking pipe or seepage from an outer wall, matters just as much as fixing the putty itself.
Wall Surface Preparation: The Step Most People Skip
Good wall surface preparation decides how long your finish lasts. Professionals spend more time on preparation than on application because the base controls the result. Follow these steps:
- Remove old paint, loose plaster, oil stains, and efflorescence with a scraper or wire brush.
- Sand rough patches and wipe away all dust with a dry cloth.
- Repair holes and cracks with a filler, then let it cure.
- Lightly dampen very dry walls so they do not absorb water from the putty too fast.
- Confirm the wall is dry using a moisture meter or a simple visual check.
Skipping even one of these steps invites the wall putty application problems that show up weeks later as blisters, powdering, or patchy paint.
Other Wall Putty Application Problems to Watch
Beyond cracking and peeling, painters and homeowners often run into these troubles:
- Pinholes and air bubbles. Overmixing traps air. Mix at a steady pace and let the paste rest for a few minutes.
- Uneven surface and trowel marks. Rushing the application or using a dirty tool leaves ridges. Sand lightly between coats.
- Powdery surface. Weak binders or excess water leave a chalky layer that fails under paint.
- Yellow or dark patches. Moisture and salts rising from the wall stain the finish.
- Poor paint adhesion. Putty that has not fully cured rejects primer and paint.
Each of these problems gets worse when the putty itself lacks quality. Consistent particle size, strong polymer content, and reliable binders make the difference between a wall that stays smooth and one that needs constant repair.
How Viaduct Blackbox Can Help
Contractors and homeowners searching for a dependable base coat increasingly choose Viaduct Blackbox for Wall Putty because it targets the exact weaknesses described above. The formulation delivers strong adhesion to concrete and plaster, which reduces peeling. Its fine, uniform texture spreads easily, so you get fewer trowel marks and a smoother surface with less sanding.
The product also handles shrinkage well when you follow the recommended mixing ratio, which lowers the chance of cracks. A consistent mix means you spend less time correcting pinholes, ridges, and patches, and more time finishing the job on schedule.
How to Fix Wall Putty Problems?
Homeowners often ask, how to fix wall putty problems? The right method depends on the defect:
- For hairline cracks: Sand the area, apply a thin coat of fresh putty, and sand again once dry.
- For deep cracks: Widen the crack slightly, clean out the dust, fill it with crack filler, and cover it with putty.
- For peeling patches: Scrape off all loose putty until you reach a firm edge, clean the wall, treat any dampness, and reapply in thin coats.
- For bubbles and pinholes: Sand the area smooth and skim it with a light coat.
- For widespread failure: Remove the damaged layer completely and start again with proper preparation.
Always let each layer dry before you sand or repaint. Rushing this stage brings the same defects back.
Best Practices for a Long-Lasting Putty Finish
Follow these habits on every project:
- Store putty powder in a dry place and use fresh stock.
- Add powder to clean water, not water to powder, and mix until the paste turns smooth and lump-free.
- Prepare only the amount you can use within the working time.
- Apply two thin coats and sand gently between them.
- Wait for full curing before you prime and paint.
- Choose quality material such as Viaduct Blackbox for Wall Putty to support every step above with dependable performance.
Ready for Smoother Walls?
Every flawless wall starts with a strong base. If you want walls that stay crack-free and paint-ready for years, explore the construction solutions from Viaduct Chemtech and talk to the team about the right product for your next project.
FAQs
1. Why does wall putty crack after drying?
Thick coats, too much water in the mix, fast drying, and movement in the plaster underneath cause most cracks. Thin coats and correct mixing reduce the risk.
2. What causes wall putty peeling?
Dust, damp walls, and weak old paint break the bond between putty and wall. Clean, dry, sound surfaces prevent peeling.
3. How long should I wait before painting over wall putty?
Wait at least 24 hours after the final coat, and longer in humid weather. Check that the surface feels completely dry and firm.
4. How many coats of wall putty should I apply?
Two thin coats work best for most interior walls. Sand lightly between coats for a smooth finish.
5. Can I apply wall putty on a damp wall?
No. Moisture weakens adhesion and causes bubbling and peeling. Fix the source of dampness and let the wall dry before you apply putty.
6. Is Viaduct Blackbox for Wall Putty suitable for interior walls?
Yes. It suits interior wall finishing when you prepare the surface properly and follow the recommended mixing and application steps.